Trabla: Unity3D: Horizontal Layout Group - add cells in runtime
Solving Overview:
1. We need to create Container for cells ( e.g. panel )
2. Container: Add component Horizontal Layout Group
3. Container: Add script with public property for cell prefab
+ code to create (clone) instances from prefab in runtime
4. We need to create cell prefab - e.g. UI.Image or UI.Button
5. Cell Prefab: Add Layout Element component
6. Set reference in Container Script to Cell Prefab
Solving:
1. Create new Unity 2D project
Right mouse click on "Main Camera" ( "Hierarchy" view ), select UI -> Panel
- Unity will create objects - "Canvas" with child object "Panel"
2. Click on "Panel" - in "Inspector" view click "Add Component"
- select "Layout"->"Horizontal Layout Group"
3. Create script for panel - select "panel" - Add Component -> "New Script" type script name
e.g. "PanelScript"
Open script in Code Editor and paste following code:
using UnityEngine;
using System.Collections;
using UnityEngine.UI;
using UnityEngine.Events;
public class PanelScript : MonoBehaviour {
//We will put here reference to prefab in Editor
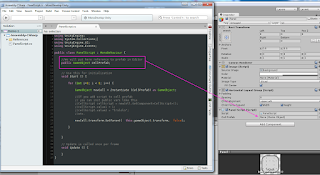
public GameObject CellPrefab;
// Use this for initialization
void Start () {
for (int i=0; i < 6; i++) {
GameObject newCell = Instantiate (CellPrefab) as GameObject;
//If you add script to cell prefab
// you can init public vars like this
//CellScript cellScript = newCell.GetComponent<CellScript>();
//cellScript.value1 = 1;
//cellScript.value2 = "trololo";
//etc.
newCell.transform.SetParent( this.gameObject.transform, false);
}
}
// Update is called once per frame
void Update () {
}
}
4. Right mouse click on "Panel" - UI->Image
Now download image below and put it into "Assets" ("Project" view ) folder ( drag-n-drop image into assests )
5. Select "Image" in "Hierarchy" view and in "Inspector"
find field "Image"->"Source Image".
Drag and drop image from assets into field "Source Image" ( it displays "None(Sprite)" )
6. Select "Image" and in Inspector click "Add Component" - select "Layout"->"Layout Element"
7. In "Hierarchy" view select and drag-n-drop "Image" element into "Project"->"Assests"
- Unity will create prefab "Image".
Delete "Image" object from "Hierarchy" - left click + delete button
8. Set reference in Container Script (Panel) to Cell Prefab (Image).
9. Run


No comments:
Post a Comment